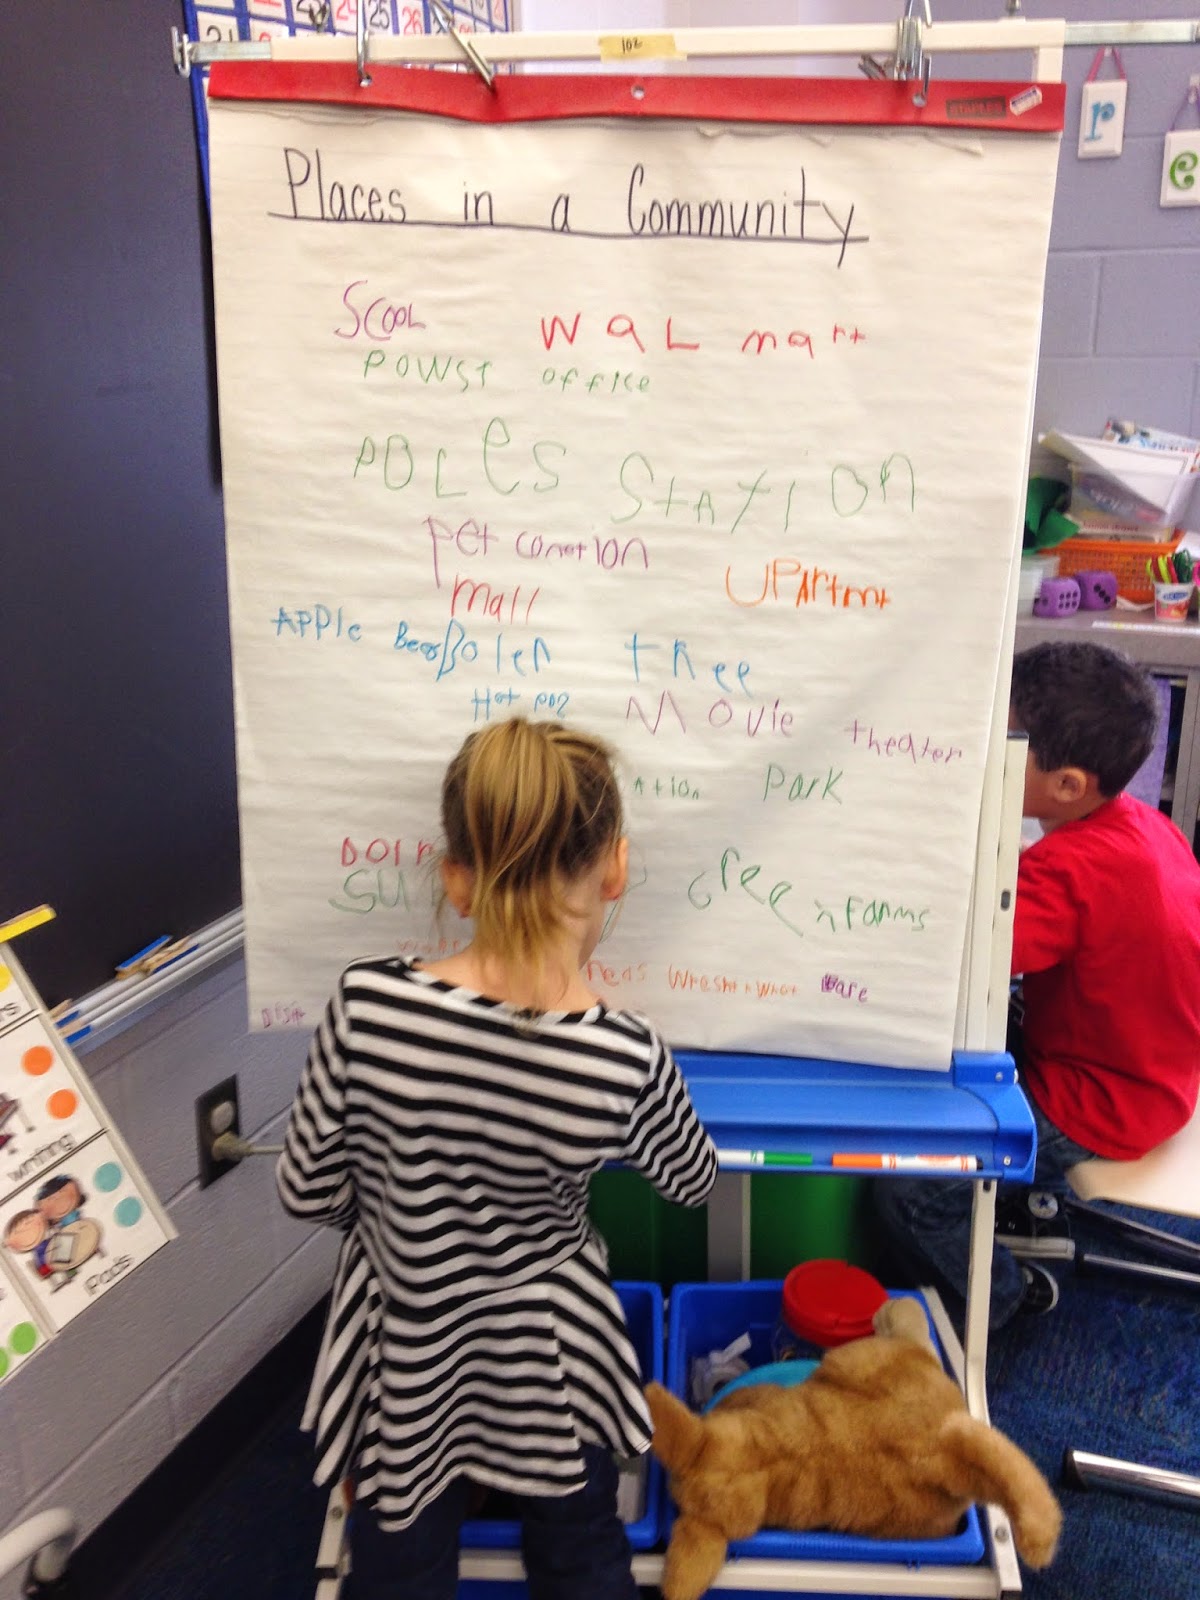
We started off our study of community by listing places in a community and more specifically, in our community. After our initial conversation, students were able to add to the list throughout the day as they thought of other places.
Students then worked in 4 groups to create a community. They began the project in their groups by making a list of places they needed to have in their communities.

After making their list, kiddos set to work making their communities. I provided a large piece of white poster board, squares and rectangles in various colors of card stock and long rectangles of black paper (for roads). I also had 1/2 sheets of construction paper available for grass, water and parking lots/driveways. Crayons, scissors and glue were also available.
 |
| The roads were put down first to lay the foundation for the community. |
 |
After creating their buildings, my kiddos began to put their communities together. Our awesome literacy coach showed me a way to get the buildings to stand up. Students bent a paperclip into an "L" shape then taped it to the back of each building. The taller buildings took 2 paperclips to stand up.
The buildings were taped to the the poster board to prevent them from being moved around the when the communities were displayed in the hallway.

Completed communities were displayed in the hallway for just over a week. Kiddos created a name for their community and a welcome sign to display with the community. Families were invited to visit during the school day or after school to see their kiddos' work. A "guest book" was available for them to leave comments for students.
 |
| Welcome to Car City. You can see the paperclip stand-up "trick" in this picture. The gray parking lot is behind the mall :) |
 |
| Welcome to Blue City. This crew made just add family members and animals to their community. |
 |
| Welcome to Pondton. Sorry for the blurry picture on this one. This group had a field with animals in the middle of their community. |
 |
| Welcome to Big City. It definitely was a "big city"; pretty much every available space was filled with a road or a building! |